Since many AP Biology teachers are trying to grow Fastplants for the first time, I thought I’d do a few blog posts that follow a generation of Fastplants in my lab. When I was in the high school classroom I always had a surplus of seed stock available because I was always growing the plants. Now, I just grow them occassionally because I think it is fun and also to provide starter seed stock for the new biology teachers that graduate from our UKanTeach program. Back in July I was fortunate to travel up to the University of Wisconsin for another Fastplant workshop. Paul and Hedi had Fastplants growing in a number of different types of containers
but I was particularly interested in the deli/discovery cup growing systems because they are very close the the technique I used to use in my classes back when film canisters were available.
The water reservoir (the deli container) can be used to also deliver soluble fertilizer so there is minimal care needed. These containers are a bit small for weekends so I chose to use 16 oz. containers.
I returned from Wisconsin with some new ideas to try out as well as some seed. Note that I brought the seed back stuck in tape. We used the tape to pick the seed up and folded it back over itself to seal the seed in after making a couple of folded over tabs on the end.

You’ll find a description of this technique in several of the resources on the Fastplant website: http://www.fastplants.org/pdf/growing_instructions.pdf
In the mean time one of my former students asked me about growing Fastplants so I decided to go out and get some more current cost estimates for supplies. Assuming you have a light source but otherwise are starting from scratch here is what I found.
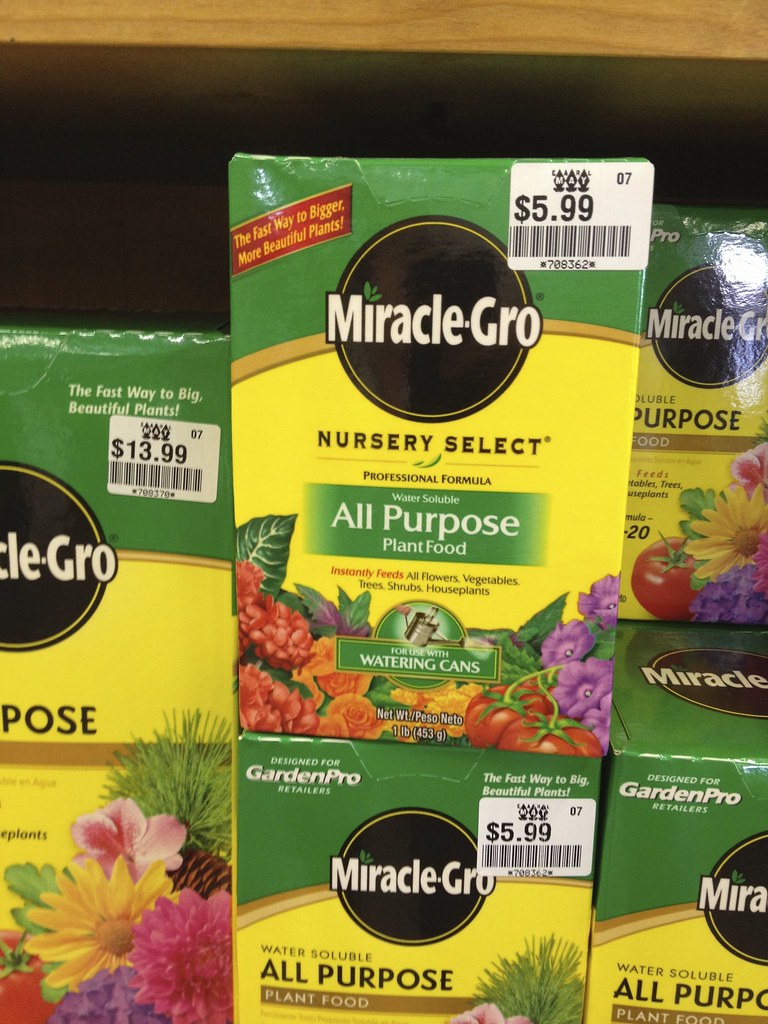
Soluble fertilizer from a local garden store: 20-20-20 with micronutrients
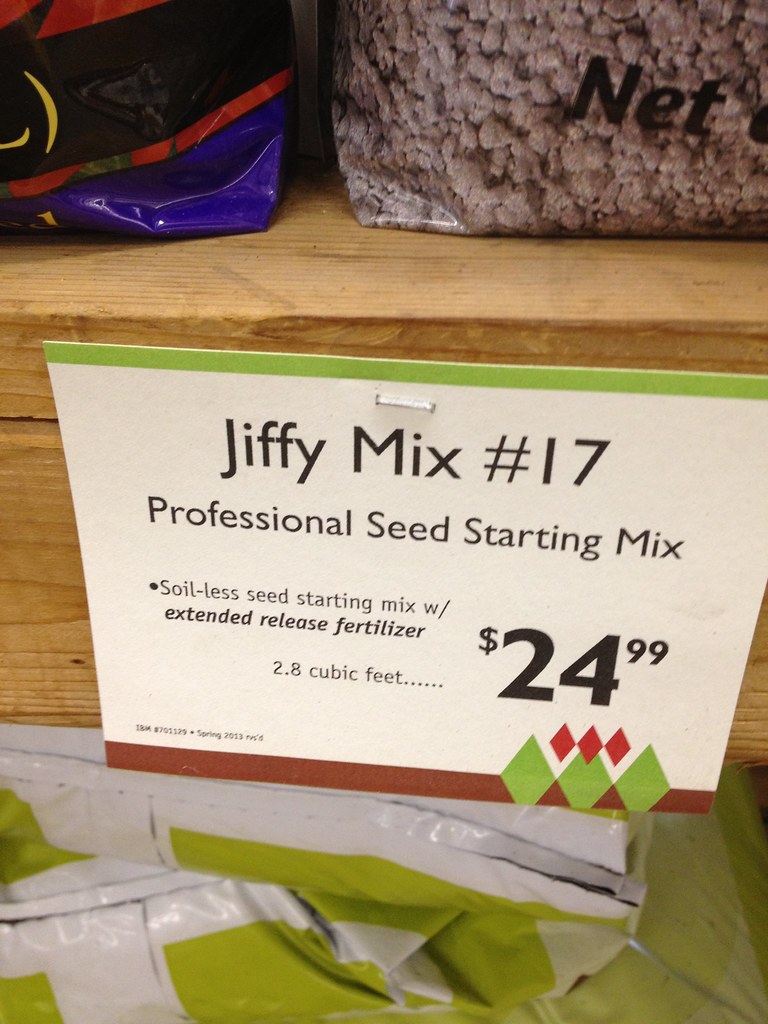
Artificial seed starter mix soil:
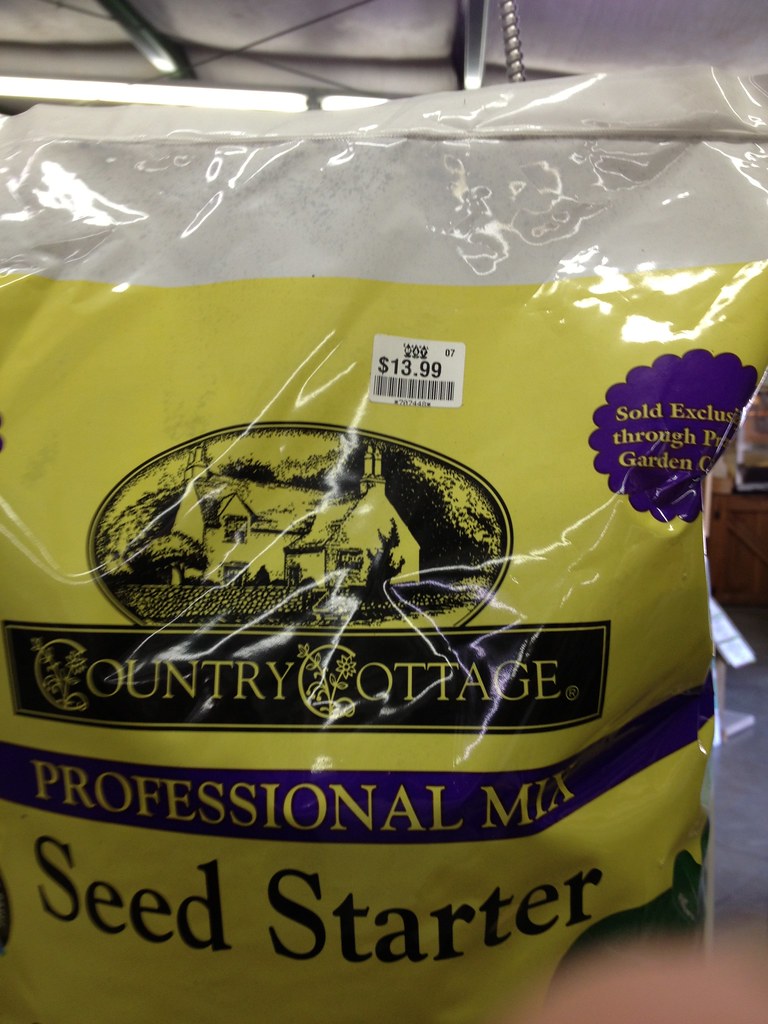
or a larger bag:
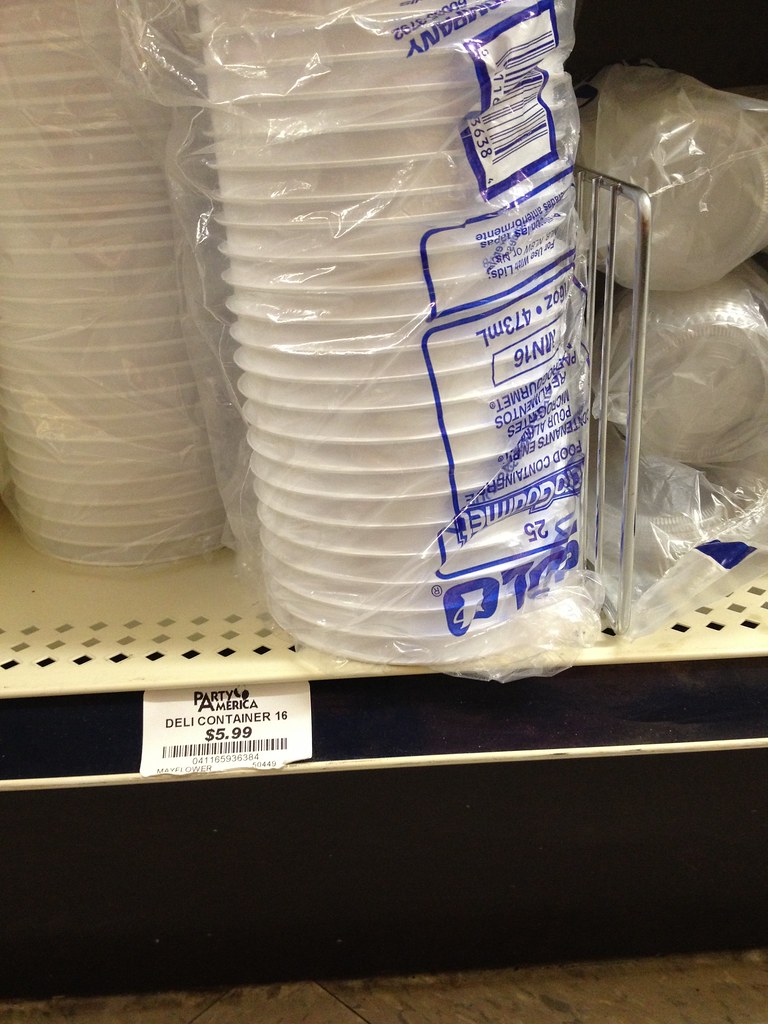
Deli Growing containers from Party America or Party City:
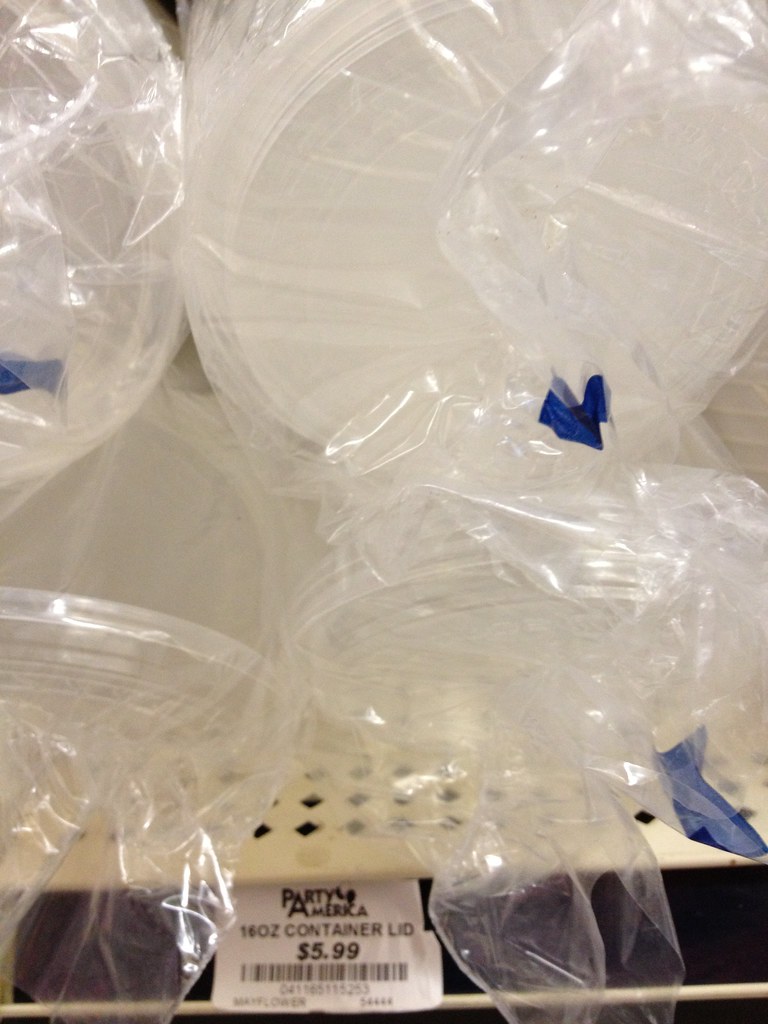
along with lids:
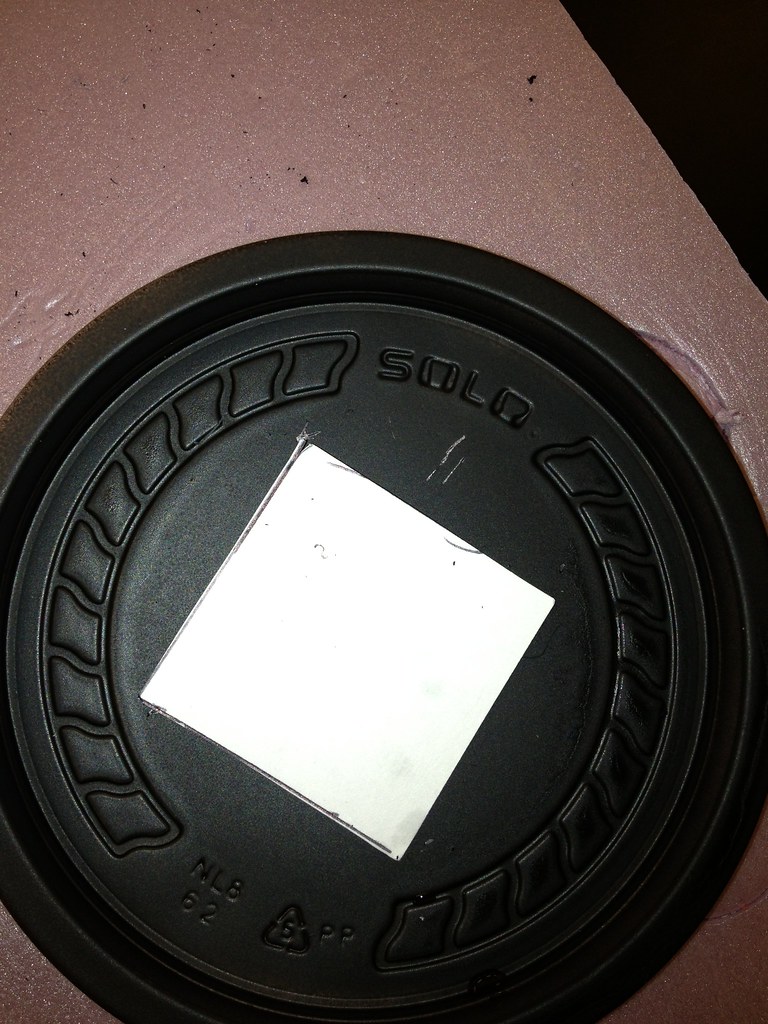
The portion cups from Party America cost about $3.50 per 100 1.25 oz. cups. I already had quite a bit of yellow braided nylon mason twine from Home Depot so I don’t have a cost for that. The neat thing about this system is that the individual cups can be moved about and that module based system is pretty easy to manage in a classroom. I also purchased a can of Flat Black Spray Paint (one coat) that I used to paint the deli containers and lids to hopefully reduce algae growth in the water reservoirs.
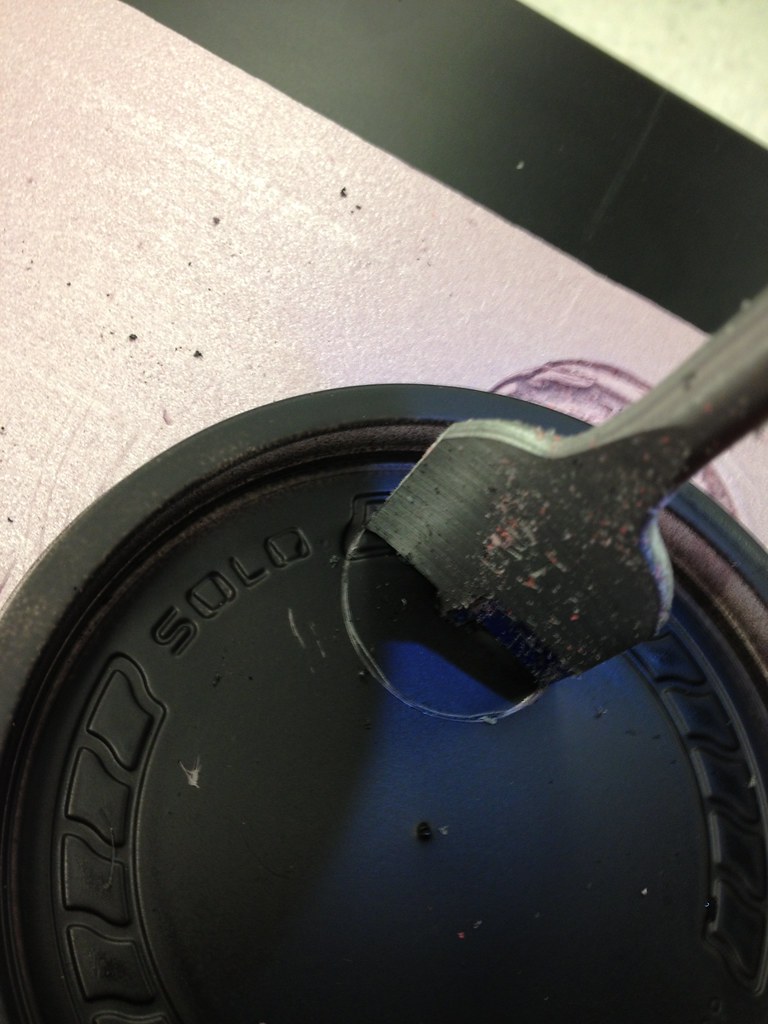
I marked and cut 1 and 3/8 inch diameter holes in the lids to hold the cups. I purchased a 1 and 3/8 inch spade bit to do this for about $5. The holes are cut very carefully and slowly by running the drill backwards or counterclockwise. In that way the bit just kind of scratches its way through the thin plastic of the lid. Going in the forward or clockwise direction will likely lead to different levels of disaster—the bit is not designed to cut into such thin material in the forward direction. If you drill that way you’ll just tear up the lid and likely not produce any holes that will work.
Marking the hole locations with a paper template.
Carefully drilling in reverse to cut the holes:
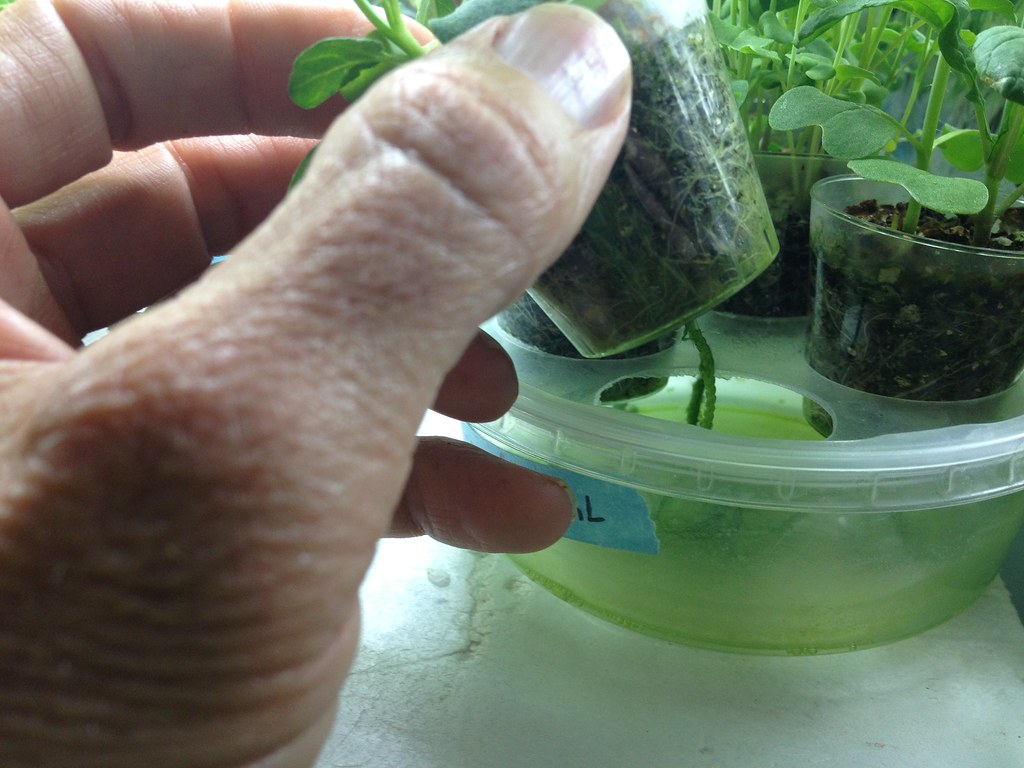
I added 250 ml of dilute fertilizer solution to each deli system. I mixed the 1 measure (a full bottle cap from a 20 oz. soda bottle) fertilizer in 1 liter of water and then diluted that stock solution 1 part stock solution to 7 parts water. I also drilled 1/8 inch holes in the bottom of the 1.25 oz. portion cups, added a 6 inch length of twine to serve as a wick, added moist soil mix to the cups to get ready to plant.
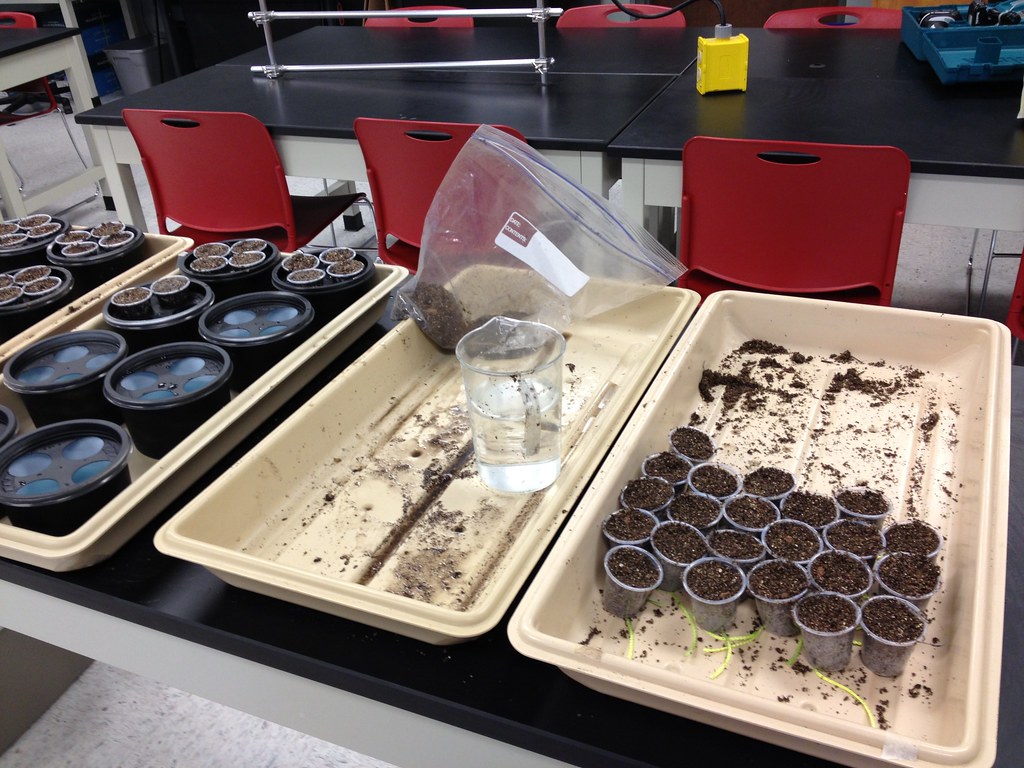
You can see the bluish fertilizer in the systems to the left and the wicks extending out of the cups on the right. I moisten the soil so that I can work with it in a gallon plastic bag by squeezing water into it. You can see the bag at the top of the tray. Before I place a cup of soil into one of the systems I first make sure that the wicking system is working. To do that I gently poured water from the pitcher in one of the cups until water was dripping from the wick. This ensures that the soil is moist as well. Once the water was dripping from the wick I transferred the cup to one of the growing systems.
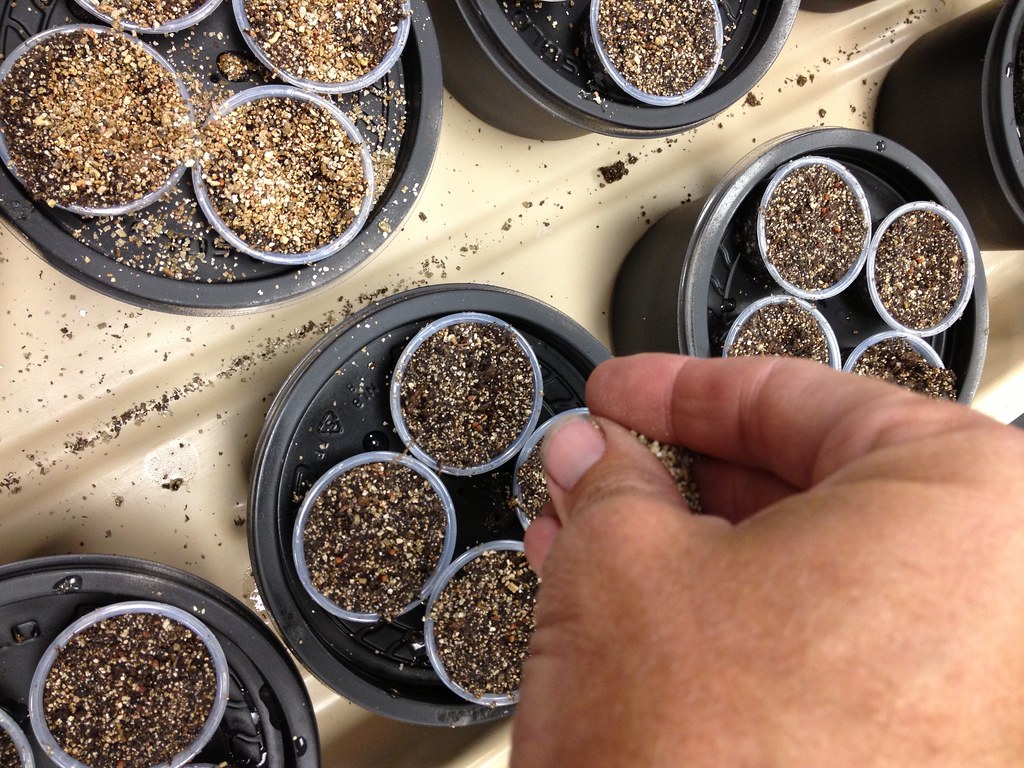
I then planted 4-6 seeds in each cup (I will trim this back to only two plants in each cup in about a week). The seeds were simply dropped onto the surface of the moist soil. They are not “planted” beneath the surface.
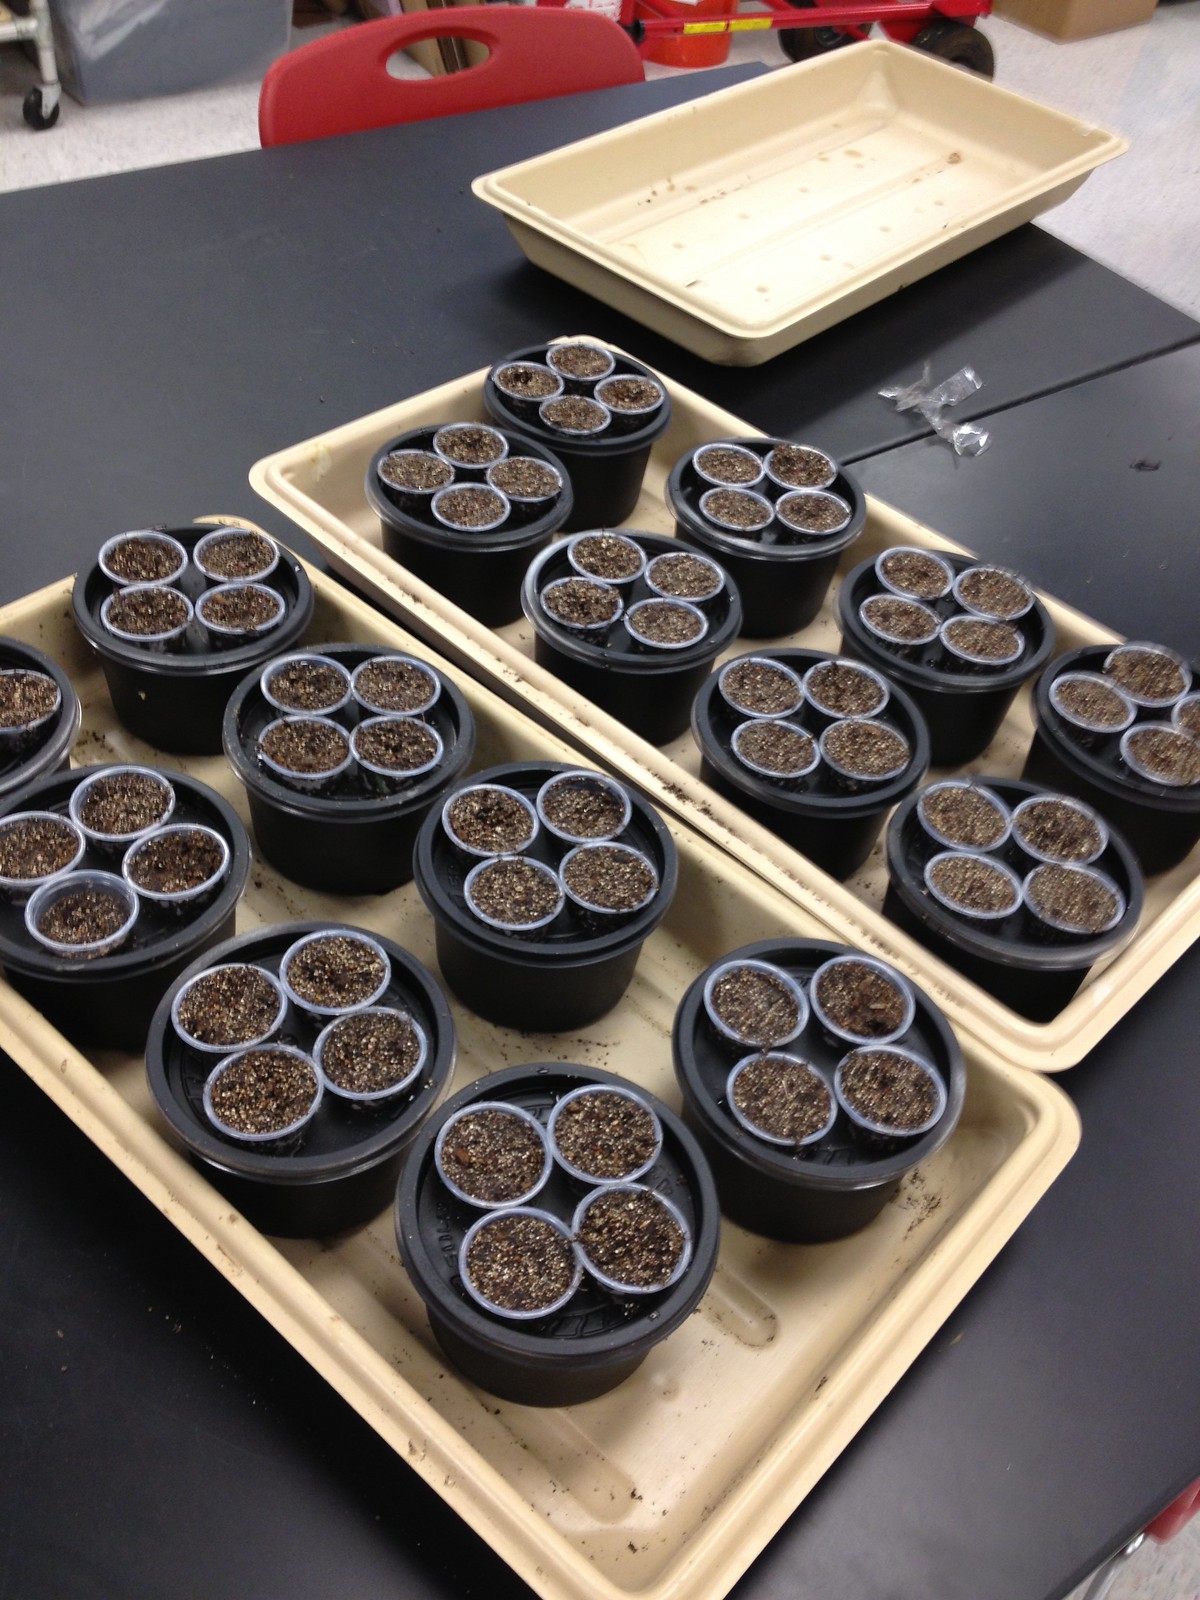
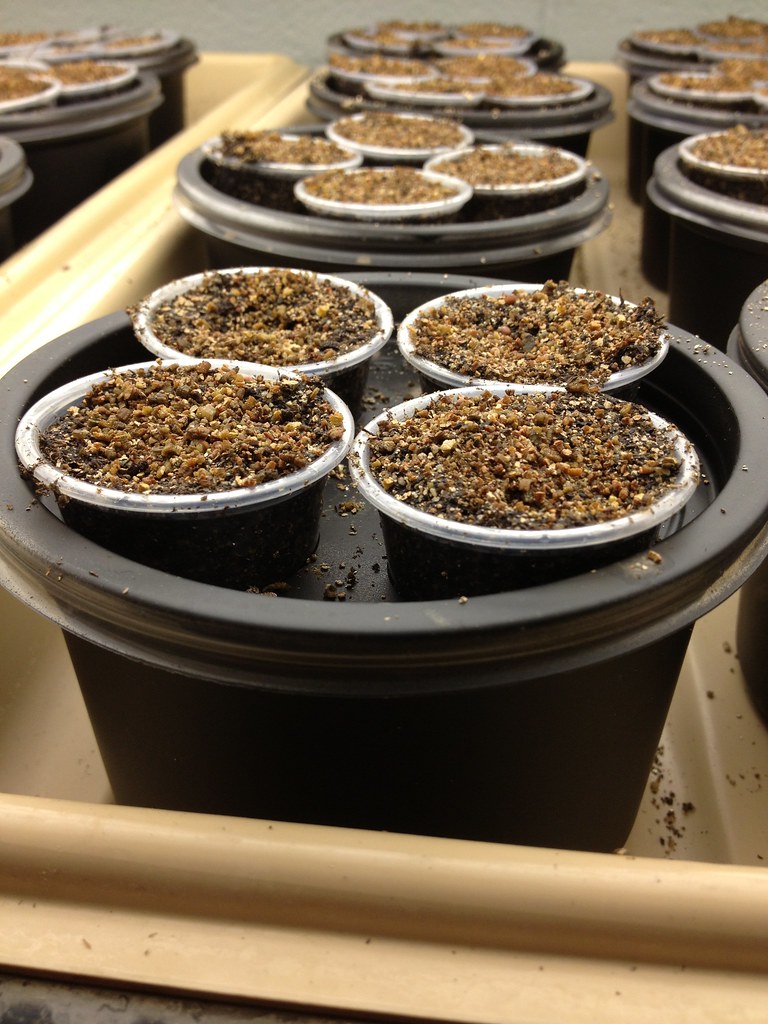
At this point I added a little bit of horticultural vermiculite to the surface of each cup. I got this tip from Paul W. You could sprinkle a little bit of soil at this point but vermiculite helps the germinating plant to escape its seed coat. I did not include the vermiculite in the costs above but I imagine it is around $8 for a small bag that will last for years of classroom plantings.
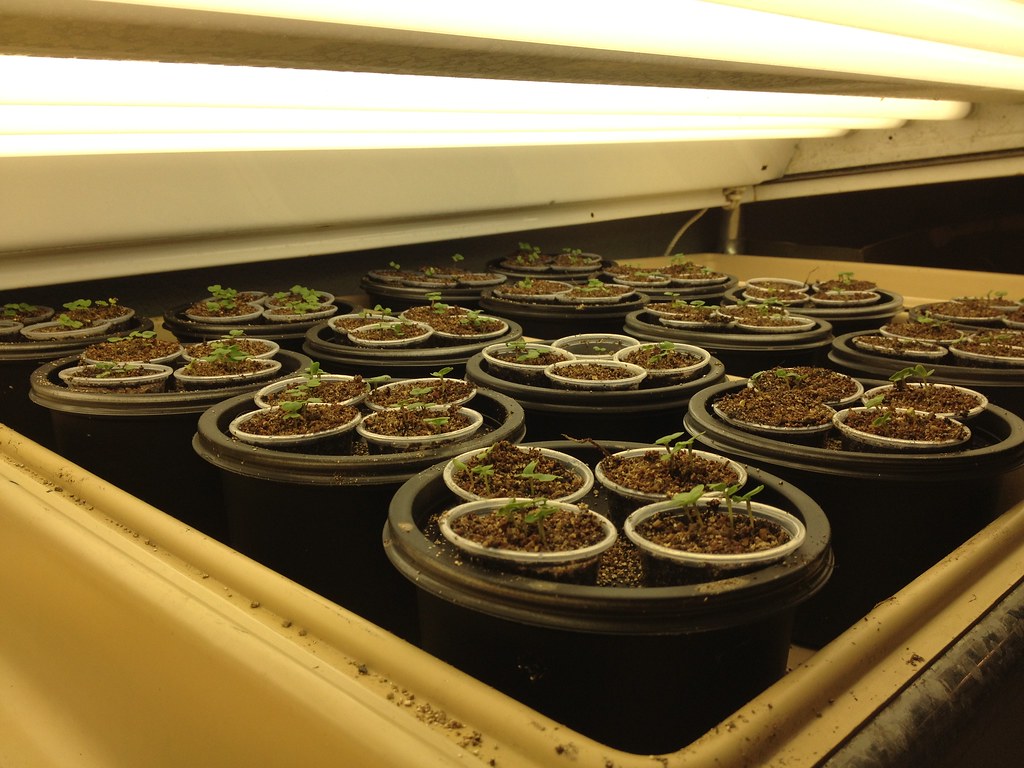
The systems then went under the lights. Notice how close I have positioned the lights for now.
Day 0.

Day 1: No apparent change:
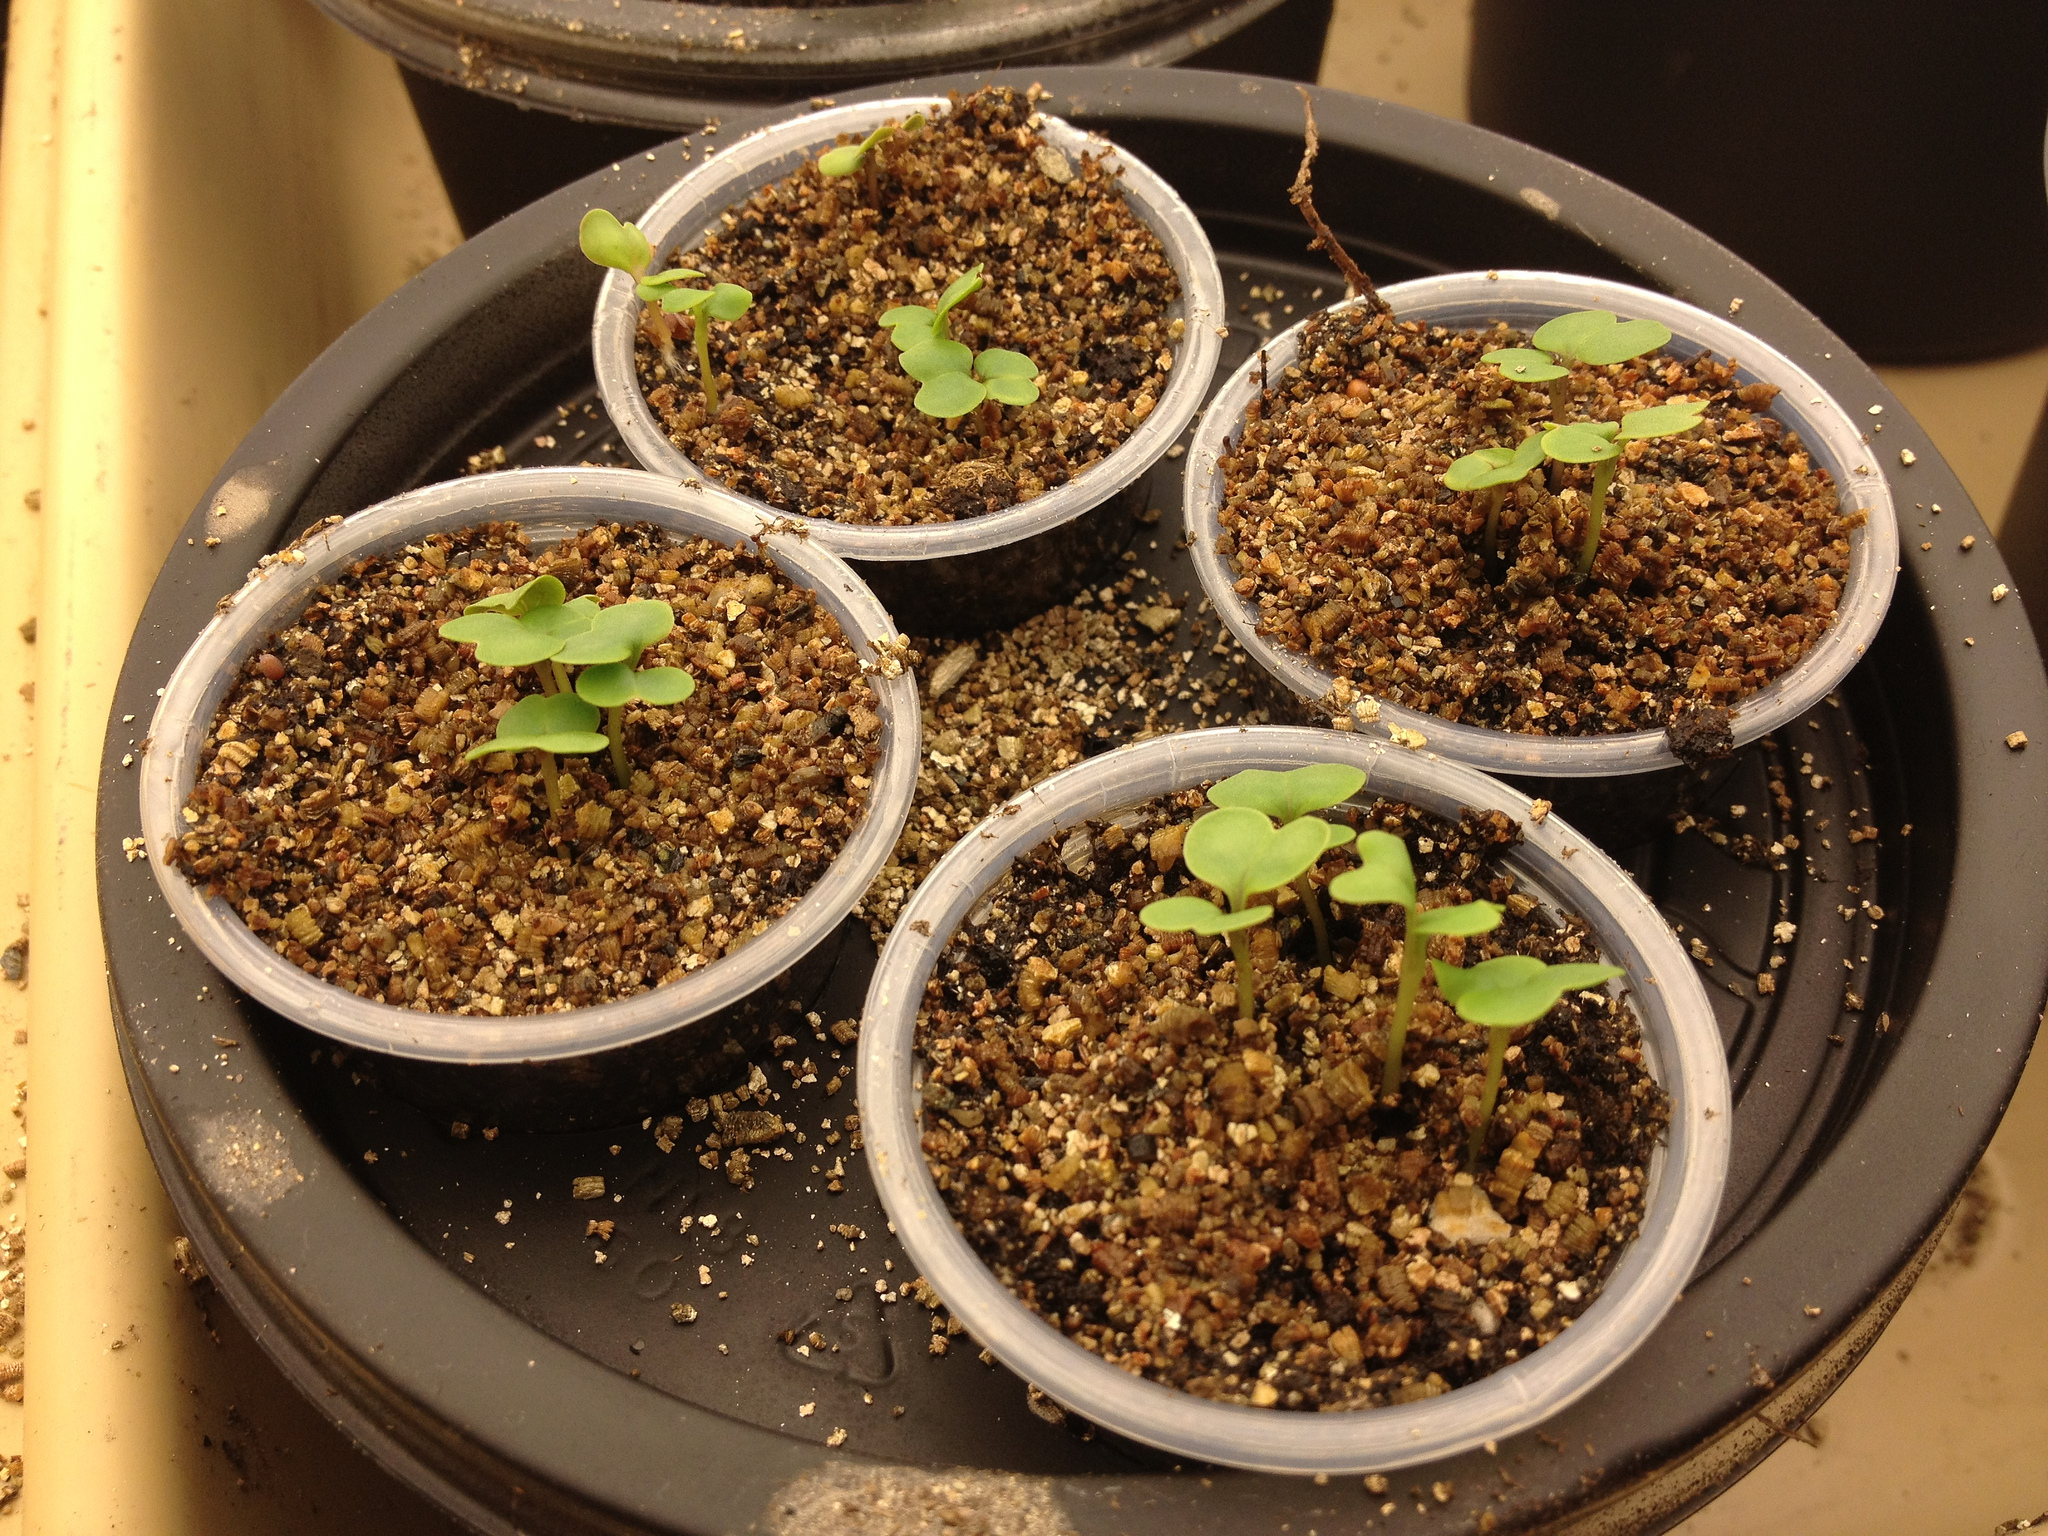
Day 2: We have germination
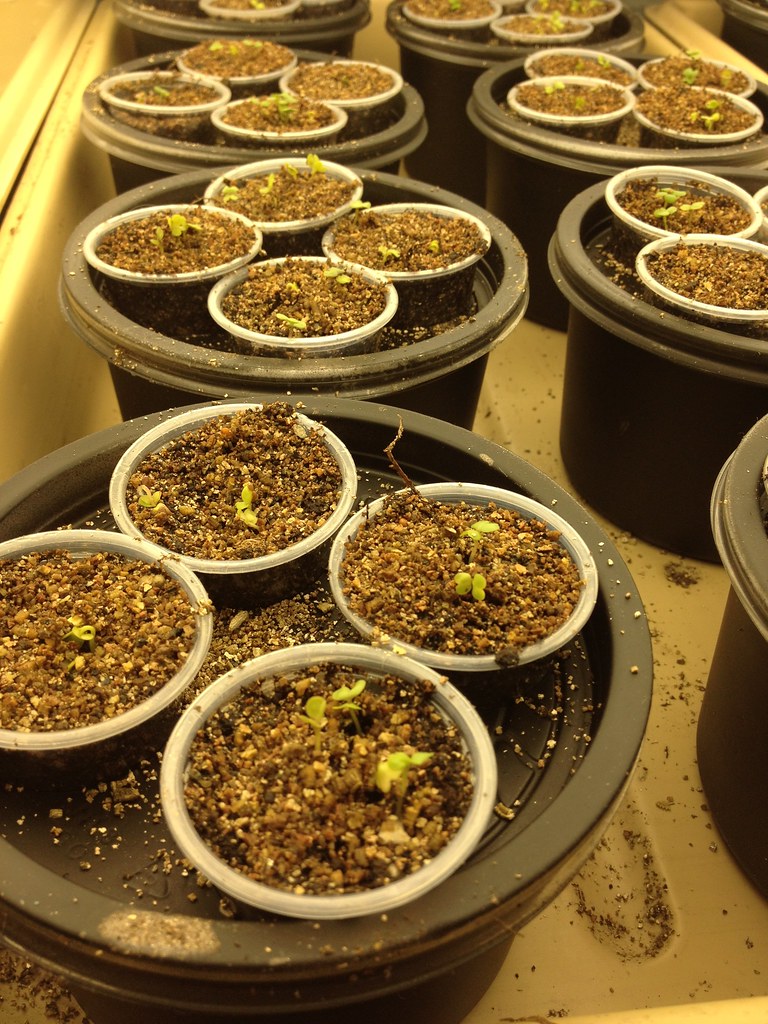
Day 3: Most of the plants have germinated. The cotyledons are expanding.

I’ll continue to report on this round of growing Fastplants.
BW